DSO-068 DIY oscilloscope
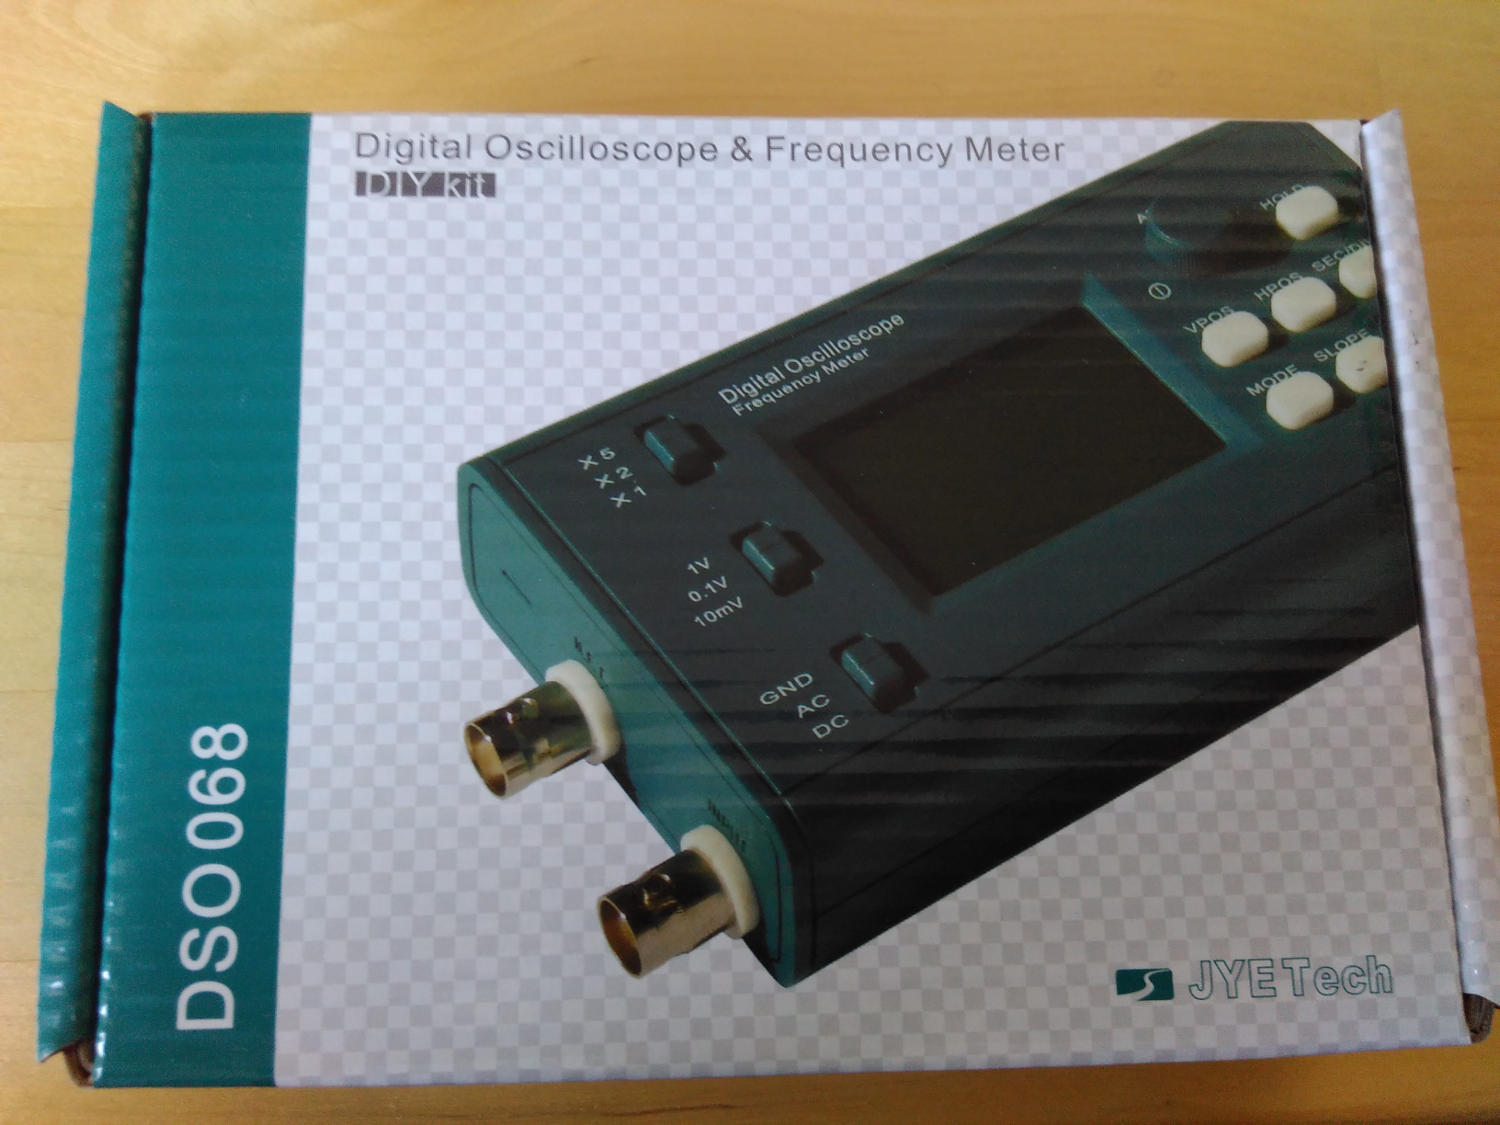
Recently I thought, isn’t there a simple, cheap oscilloscope available? And there is: A do-it-yourself kit, all parts included, ready for you to solder. Elektor provides the DSO-068 complete with casing.
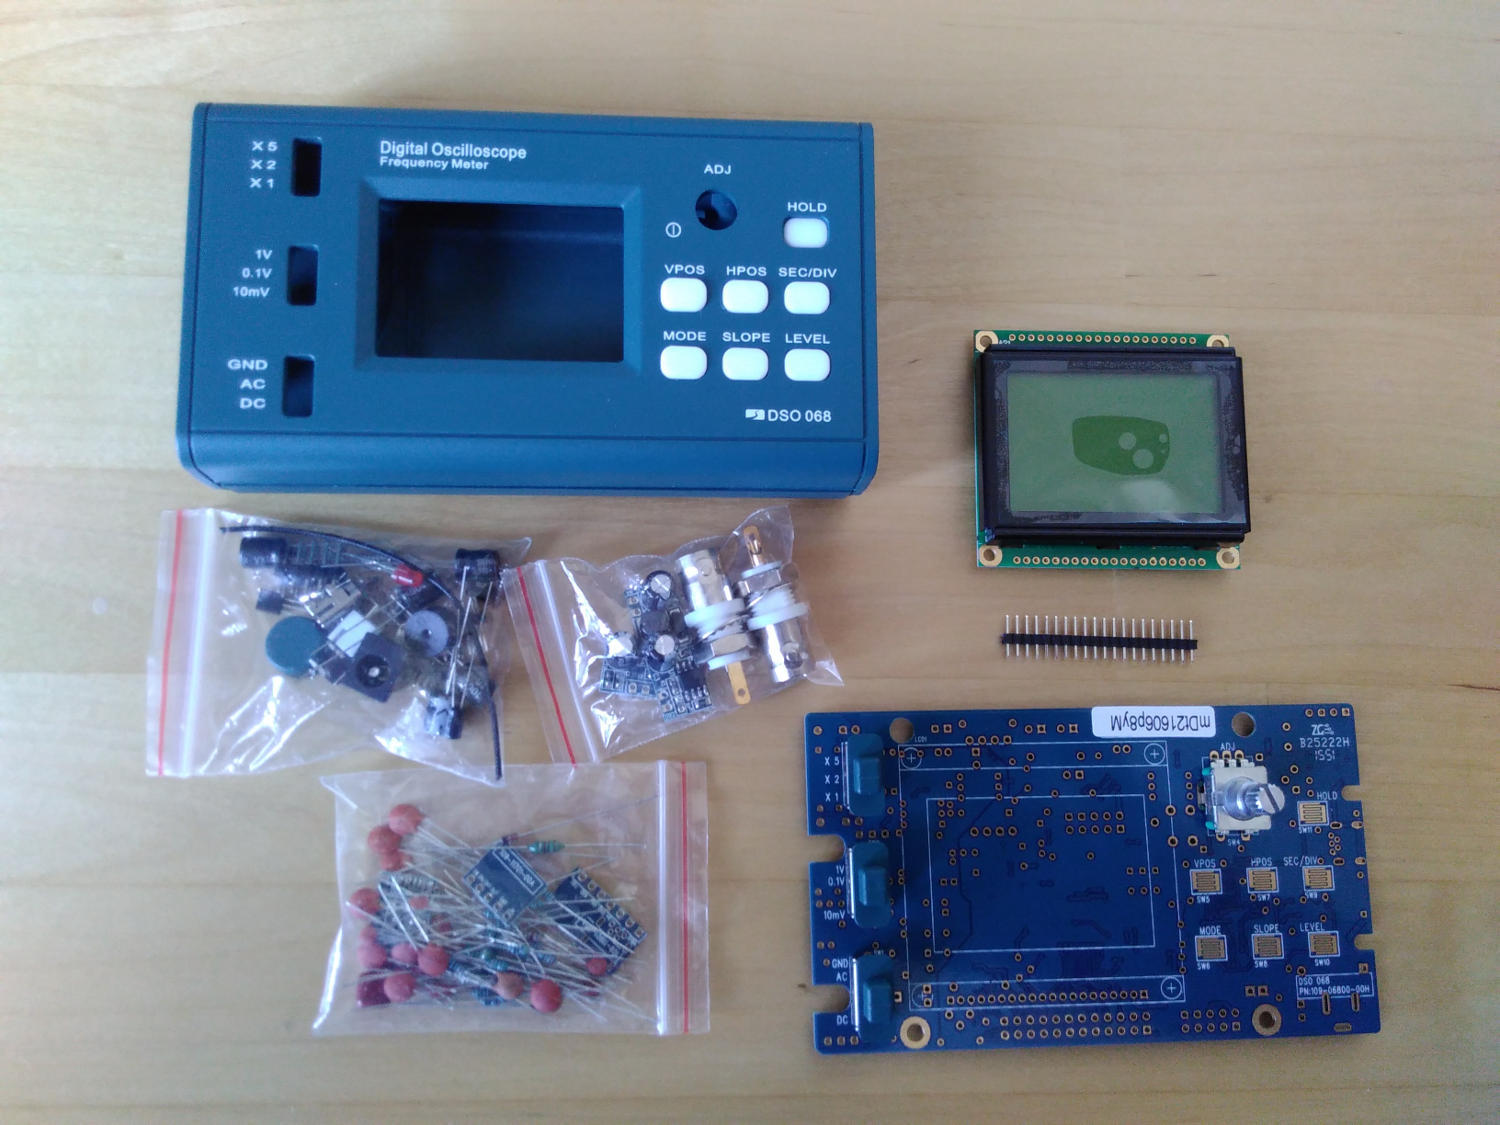
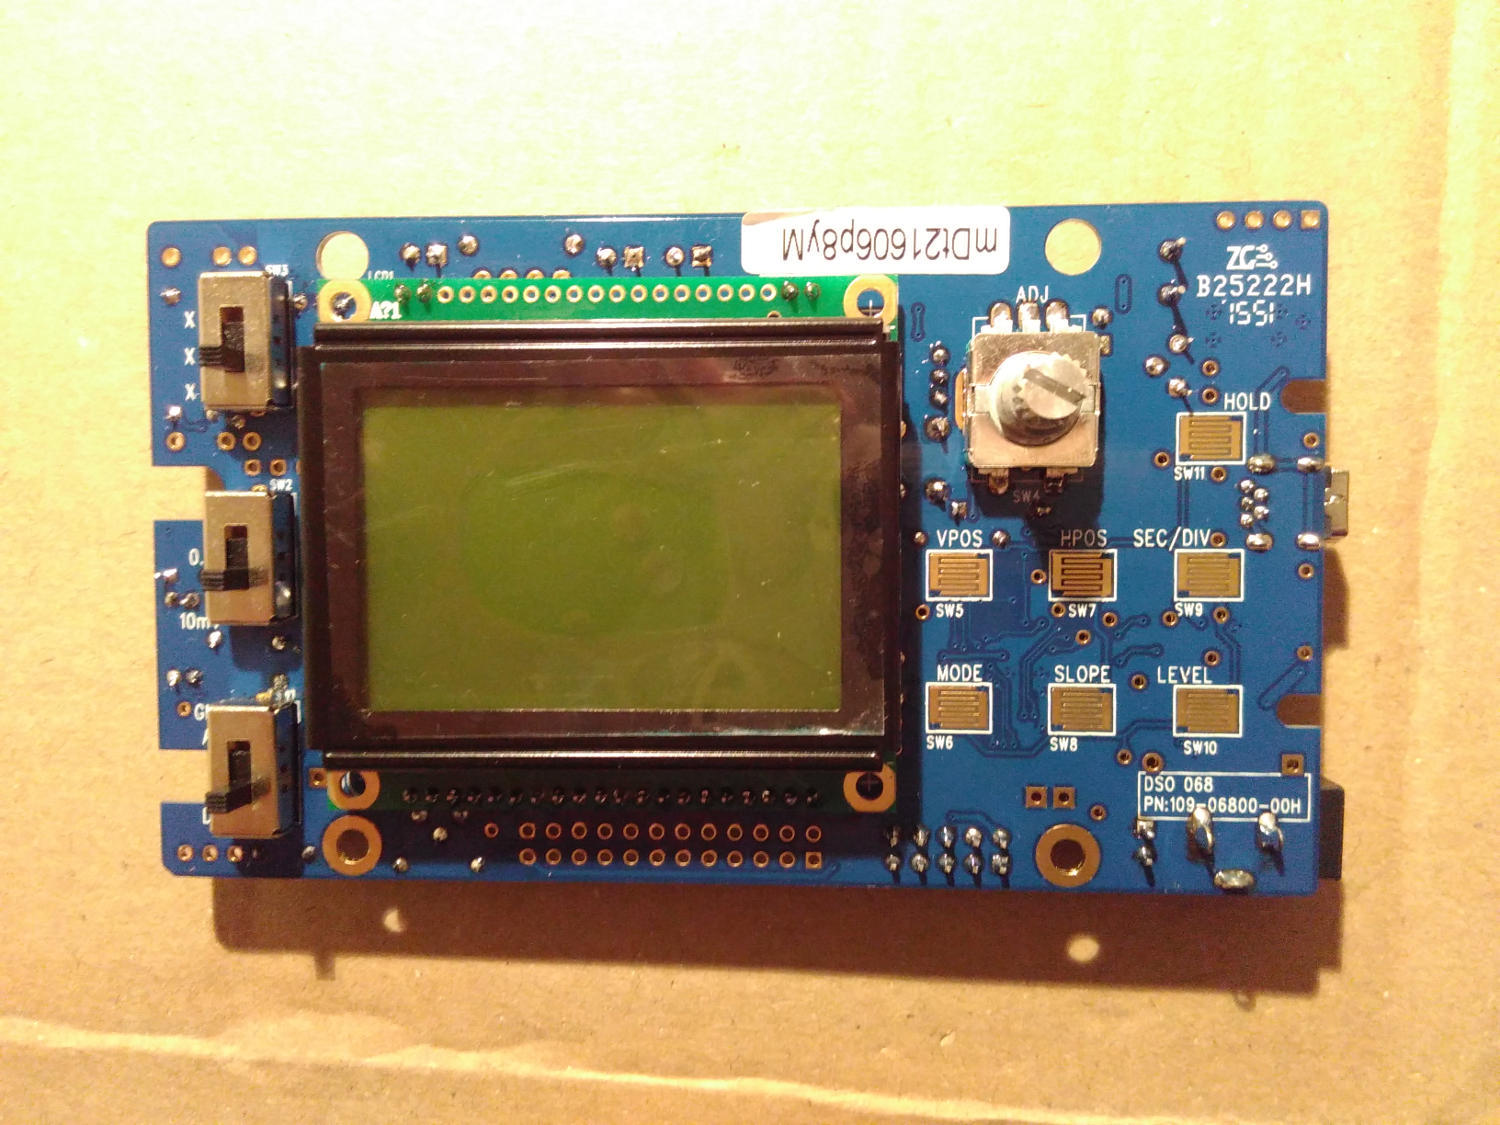
You’ll get a the main PCB with some resistors and caps and the Atmel MCUs onboard already. The firmware is already programmed. The remaining through-hole resistors and capacitors and inductors you’ll need to solder.
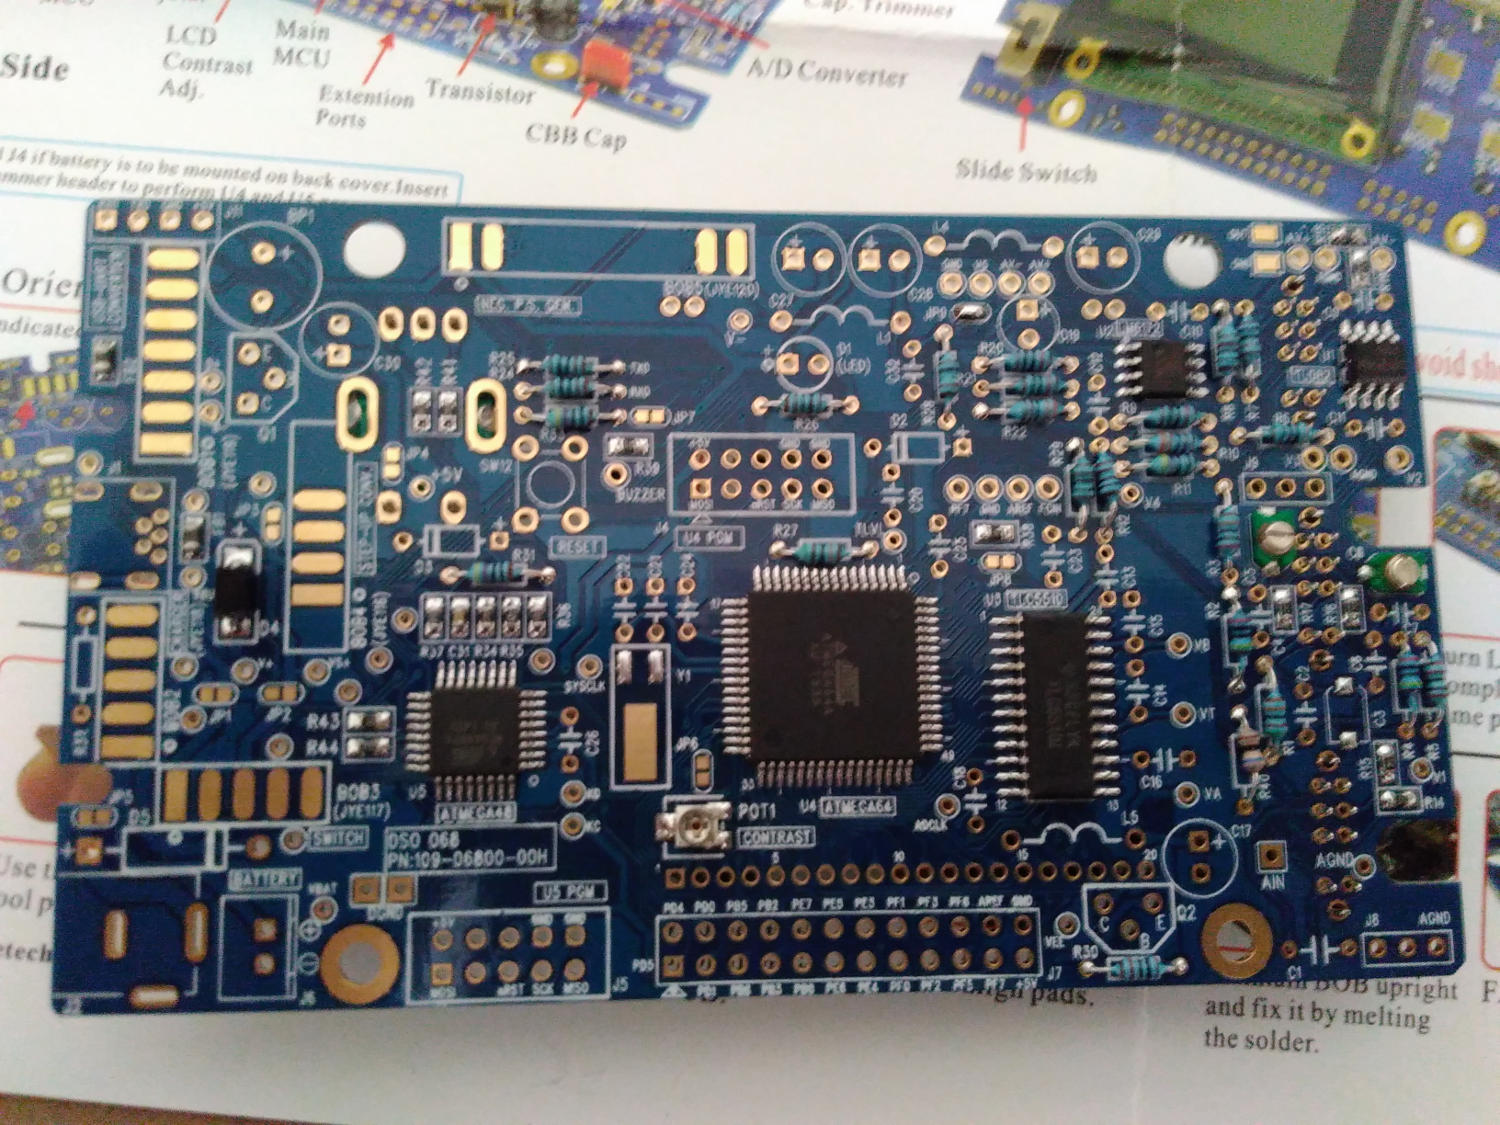
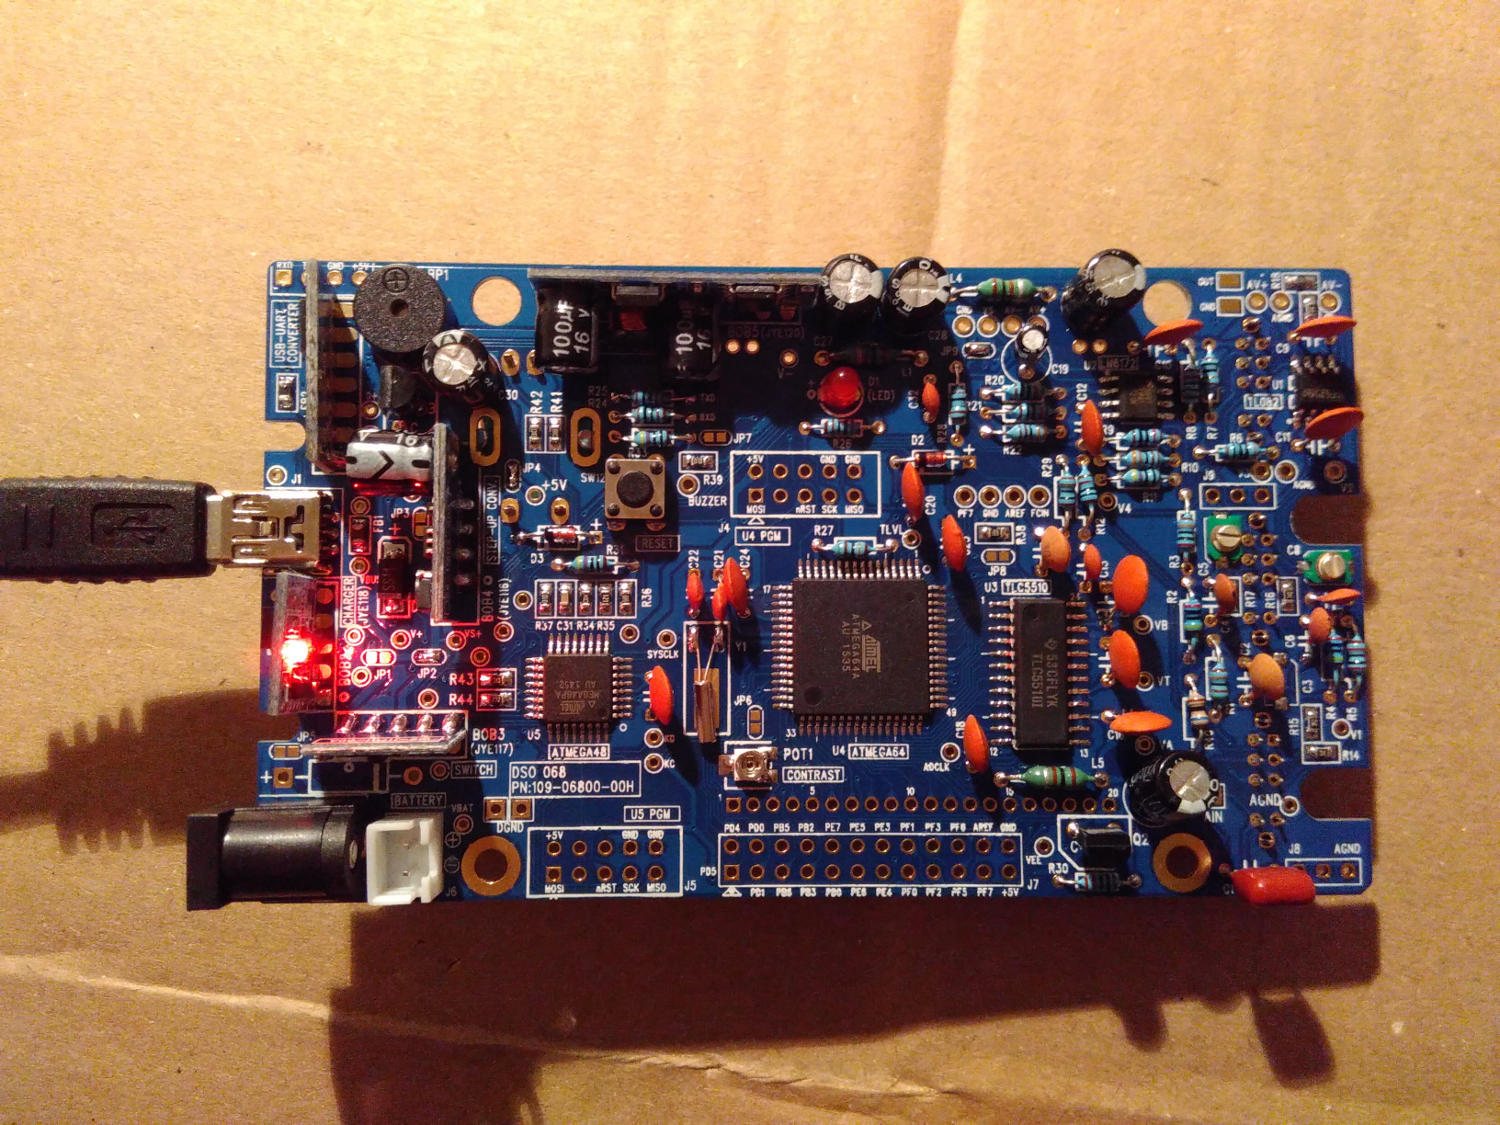
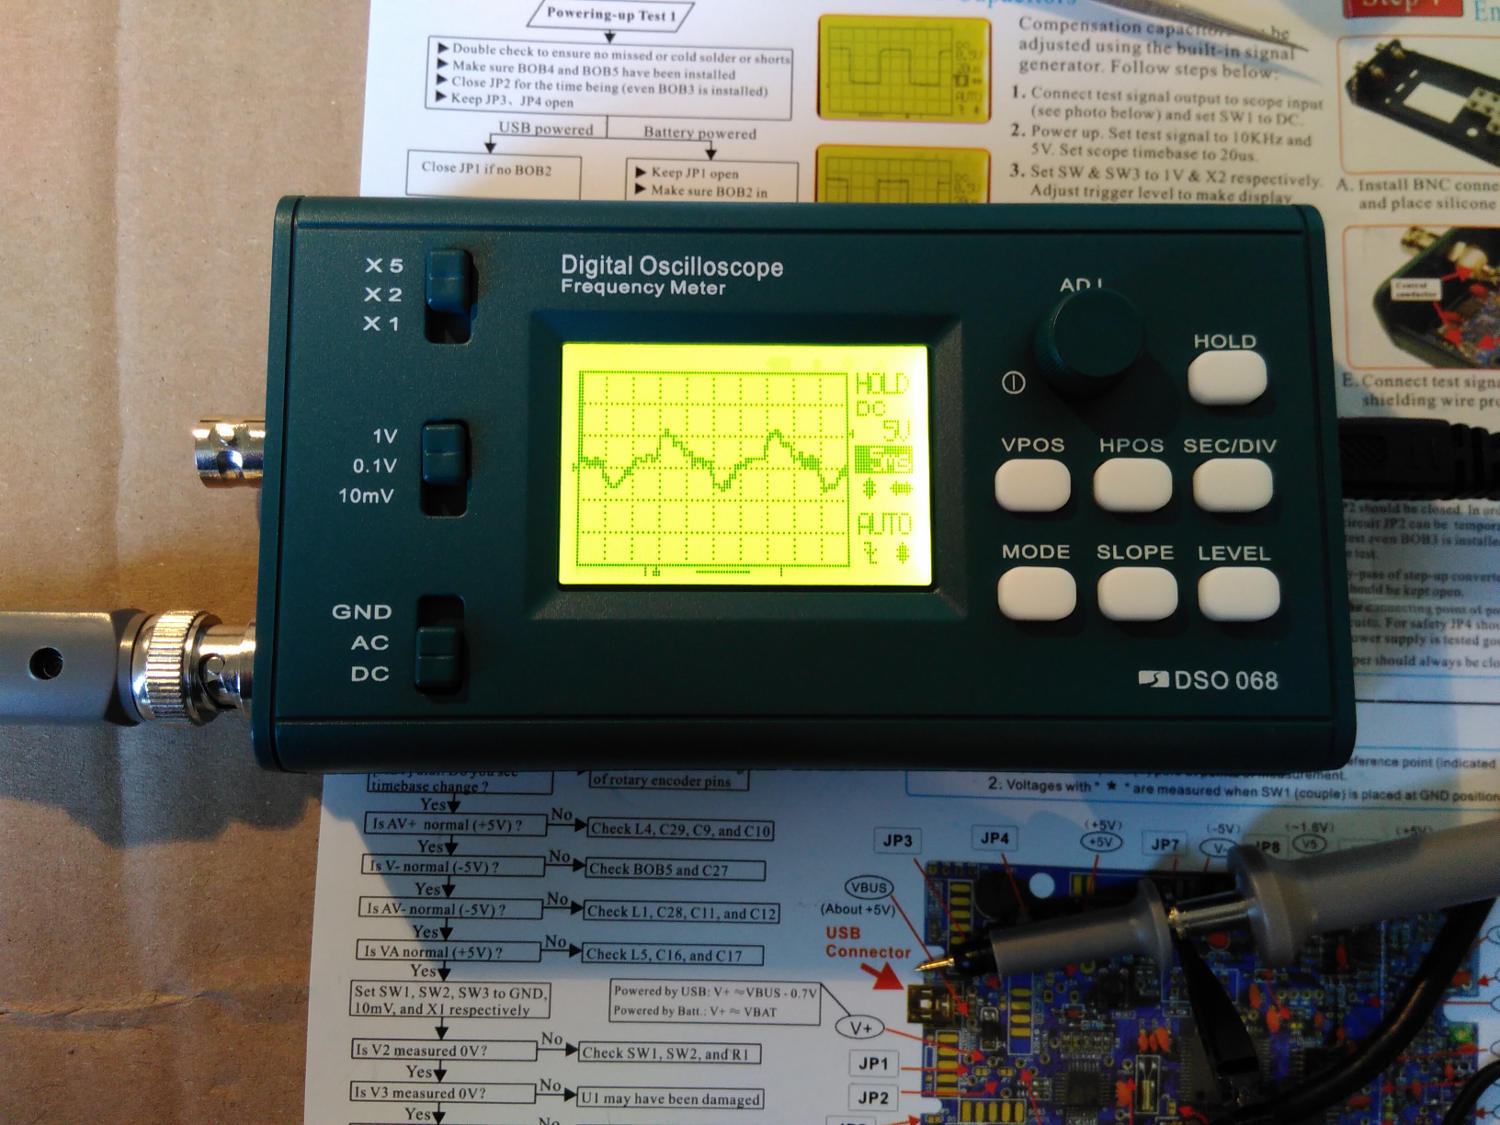
Here are some pictures I made while soldering and building my first oscilloscope:
Comments
No comments yet.Leave a comment
Your email address will not be published. Required fields are marked *. All comments are held for moderation to avoid spam and abuse.